
Corn-Hole, in case your mind was going in a different direction, is a sport similar to horseshoes except a specially made wooden box is used instead of a sand pit and bean bags take the place of horseshoes. While it's impossible to say with certainty where and when the game was invented, Cincinnati most certainly is a Corn-Hole hotspot. Corn-Hole is to Cincinnati what dogsledding is to the Yukon.
Learning Corn-Hole is easy. Assemble two Corn-Hole platforms and eight corn-kernel filled bags and you're ready to play the game. Tossing and landing a bean bag on the Corn-Hole board earns single point. Pop it through the Corn-Hole, and you'll earn three. The player or team with the most points at the end wins. Simple it may be, but a spirited game is exciting, and there actually is a fair amount of skill and strategy. Plus, you can play it without ever having to set down your beer.
Corn-Hole can be played anywhere and by anyone. But it does require building a Corn-Hole board. It'll cost you a few bucks, but it's an easy project, even for a beginner.
Moonlight Corn-Hole
Making a Corn-Hole board is easy. Here's one that can easily be constructed by just about anyone. Best of all, it lights up for night time play.
The Moonlight Corn-Hole platform is regulation sized, and sports a high-tech LED lighting strip system. This design not only lights the Corn-Hole itself, but provides a bright outline of the entire platform.
LED strips are some pretty great stuff. They have come down remarkably in price in the last few years, and since they draw little power, an inexpensive and rechargeable 9-amp-hour 12-volt battery provides enough juice for hours of moonlight play. LED strips are designed so they may be cut into any length desired, are weather proof, and are safe around children and pets.
Materials (per Corn-Hole Board)
(1) ¾" thick hardwood plywood board, 2' x 4'
(2) 2"x4"s, each 45 inches long
(2) 2"x4"s, each 24 inches long
(1) Box exterior deck screws, 2" long
(1) Box nails, 1 ½" long
(2) 2"x4"s for legs, 7 1/8" long, cut at angle as shown
(1) 15' long weatherproof LED strip ($11.50)
(1) ¾'inch diameter flexible plastic tubing, 25 inches long
(2) LED strip PCB to wire adapters ($7)
(1) 12 volt battery or 12 volt transformer ($24)
(1) Roll hook up wire 20 gauge
(2) Small wire nuts
(2) Female spade connectors
(1) Box insulated wire staples
Glue
20 inches aluminum tape
Primer, exterior paint
Tools
Electric Drill with screw driver bit and 3/8" drill
Hammer
Jigsaw
Sandpaper
Tape measure, compass, knife, and pencil
Wire stripper, screwdriver, and pliers
To the Workshop!

 1. Locate and mark the center of the Corn-Hole on the plywood, as shown in the diagram. Use a compass to draw a 6-inch diameter circle around the mark. Drill a starter hole in the interior of the circle with the electric drill; then use the jigsaw to cut out the 6-inch hole. Use sandpaper to smooth the cut hole. After it's smooth, cover the interior surface of the hole with aluminum tape and use a knife to cut the tape flush with the top and bottom surfaces.
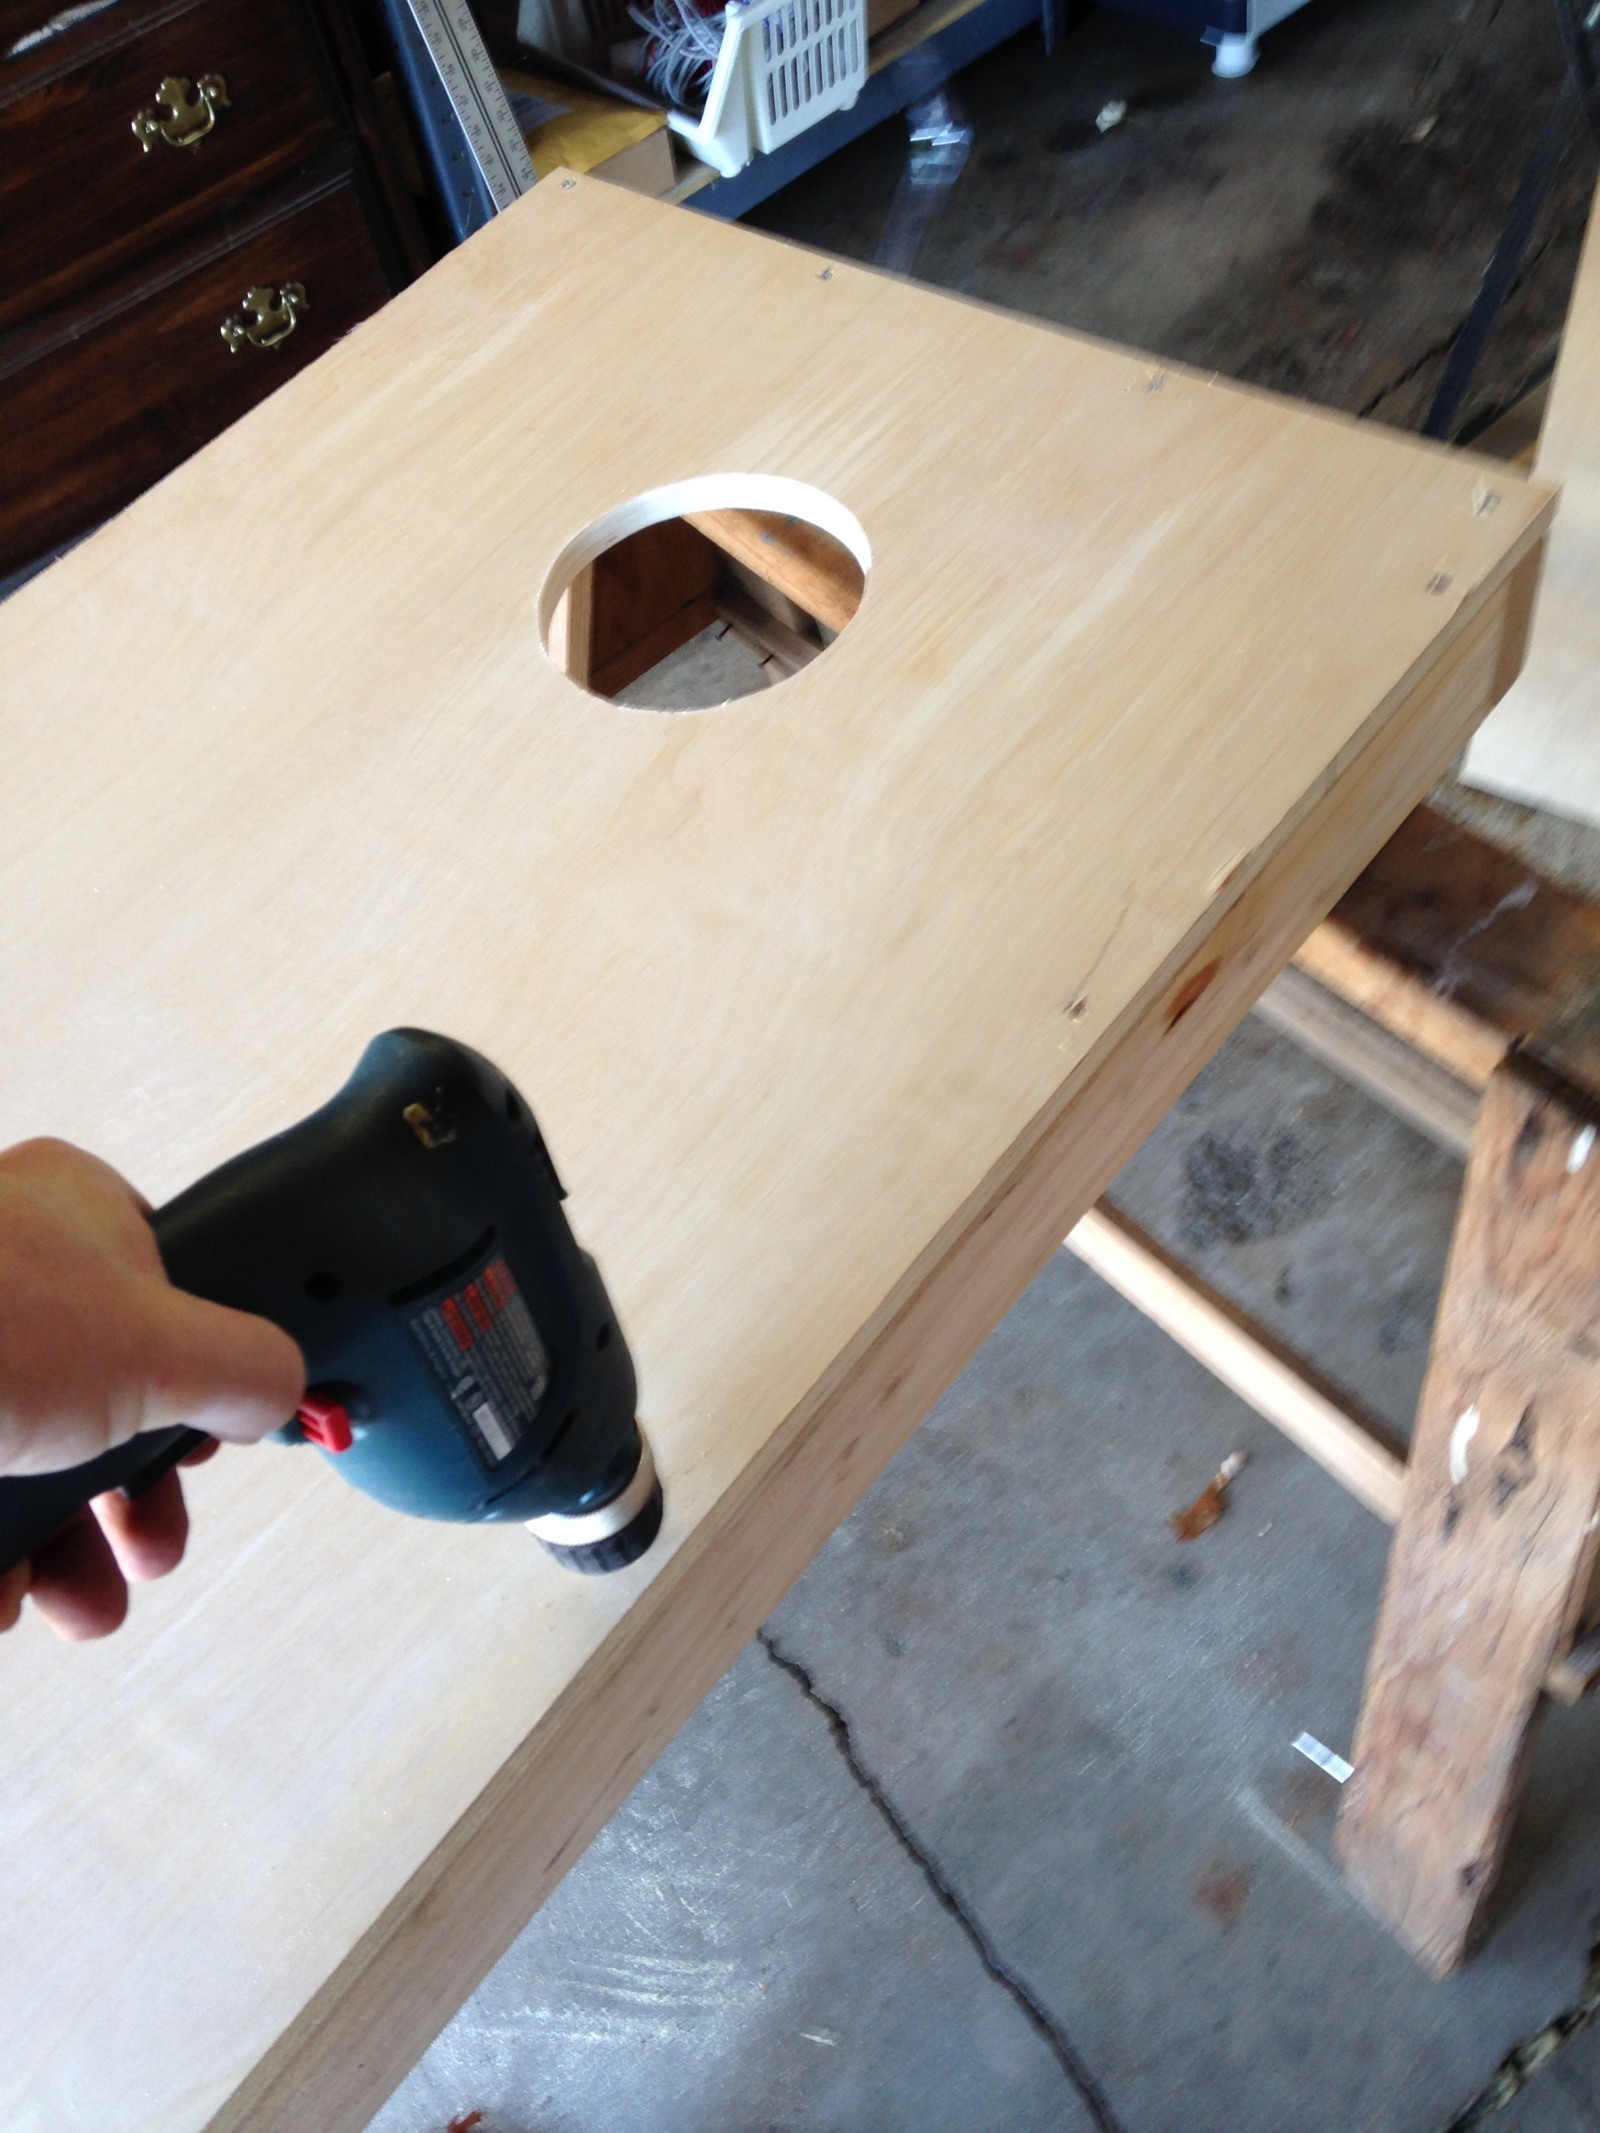 2. After cutting the wood to the lengths described in the materials list, connect the 24-inch 2X4's and the 45-inch 2X4's to the plywood top using 2-inch long deck screws. See the diagram for the arrangement. Shoot a screw into the plywood top every six to eight inches. While your drill is out, insert a deck screw into the ends of the frame to hold the frame tight for good measure.
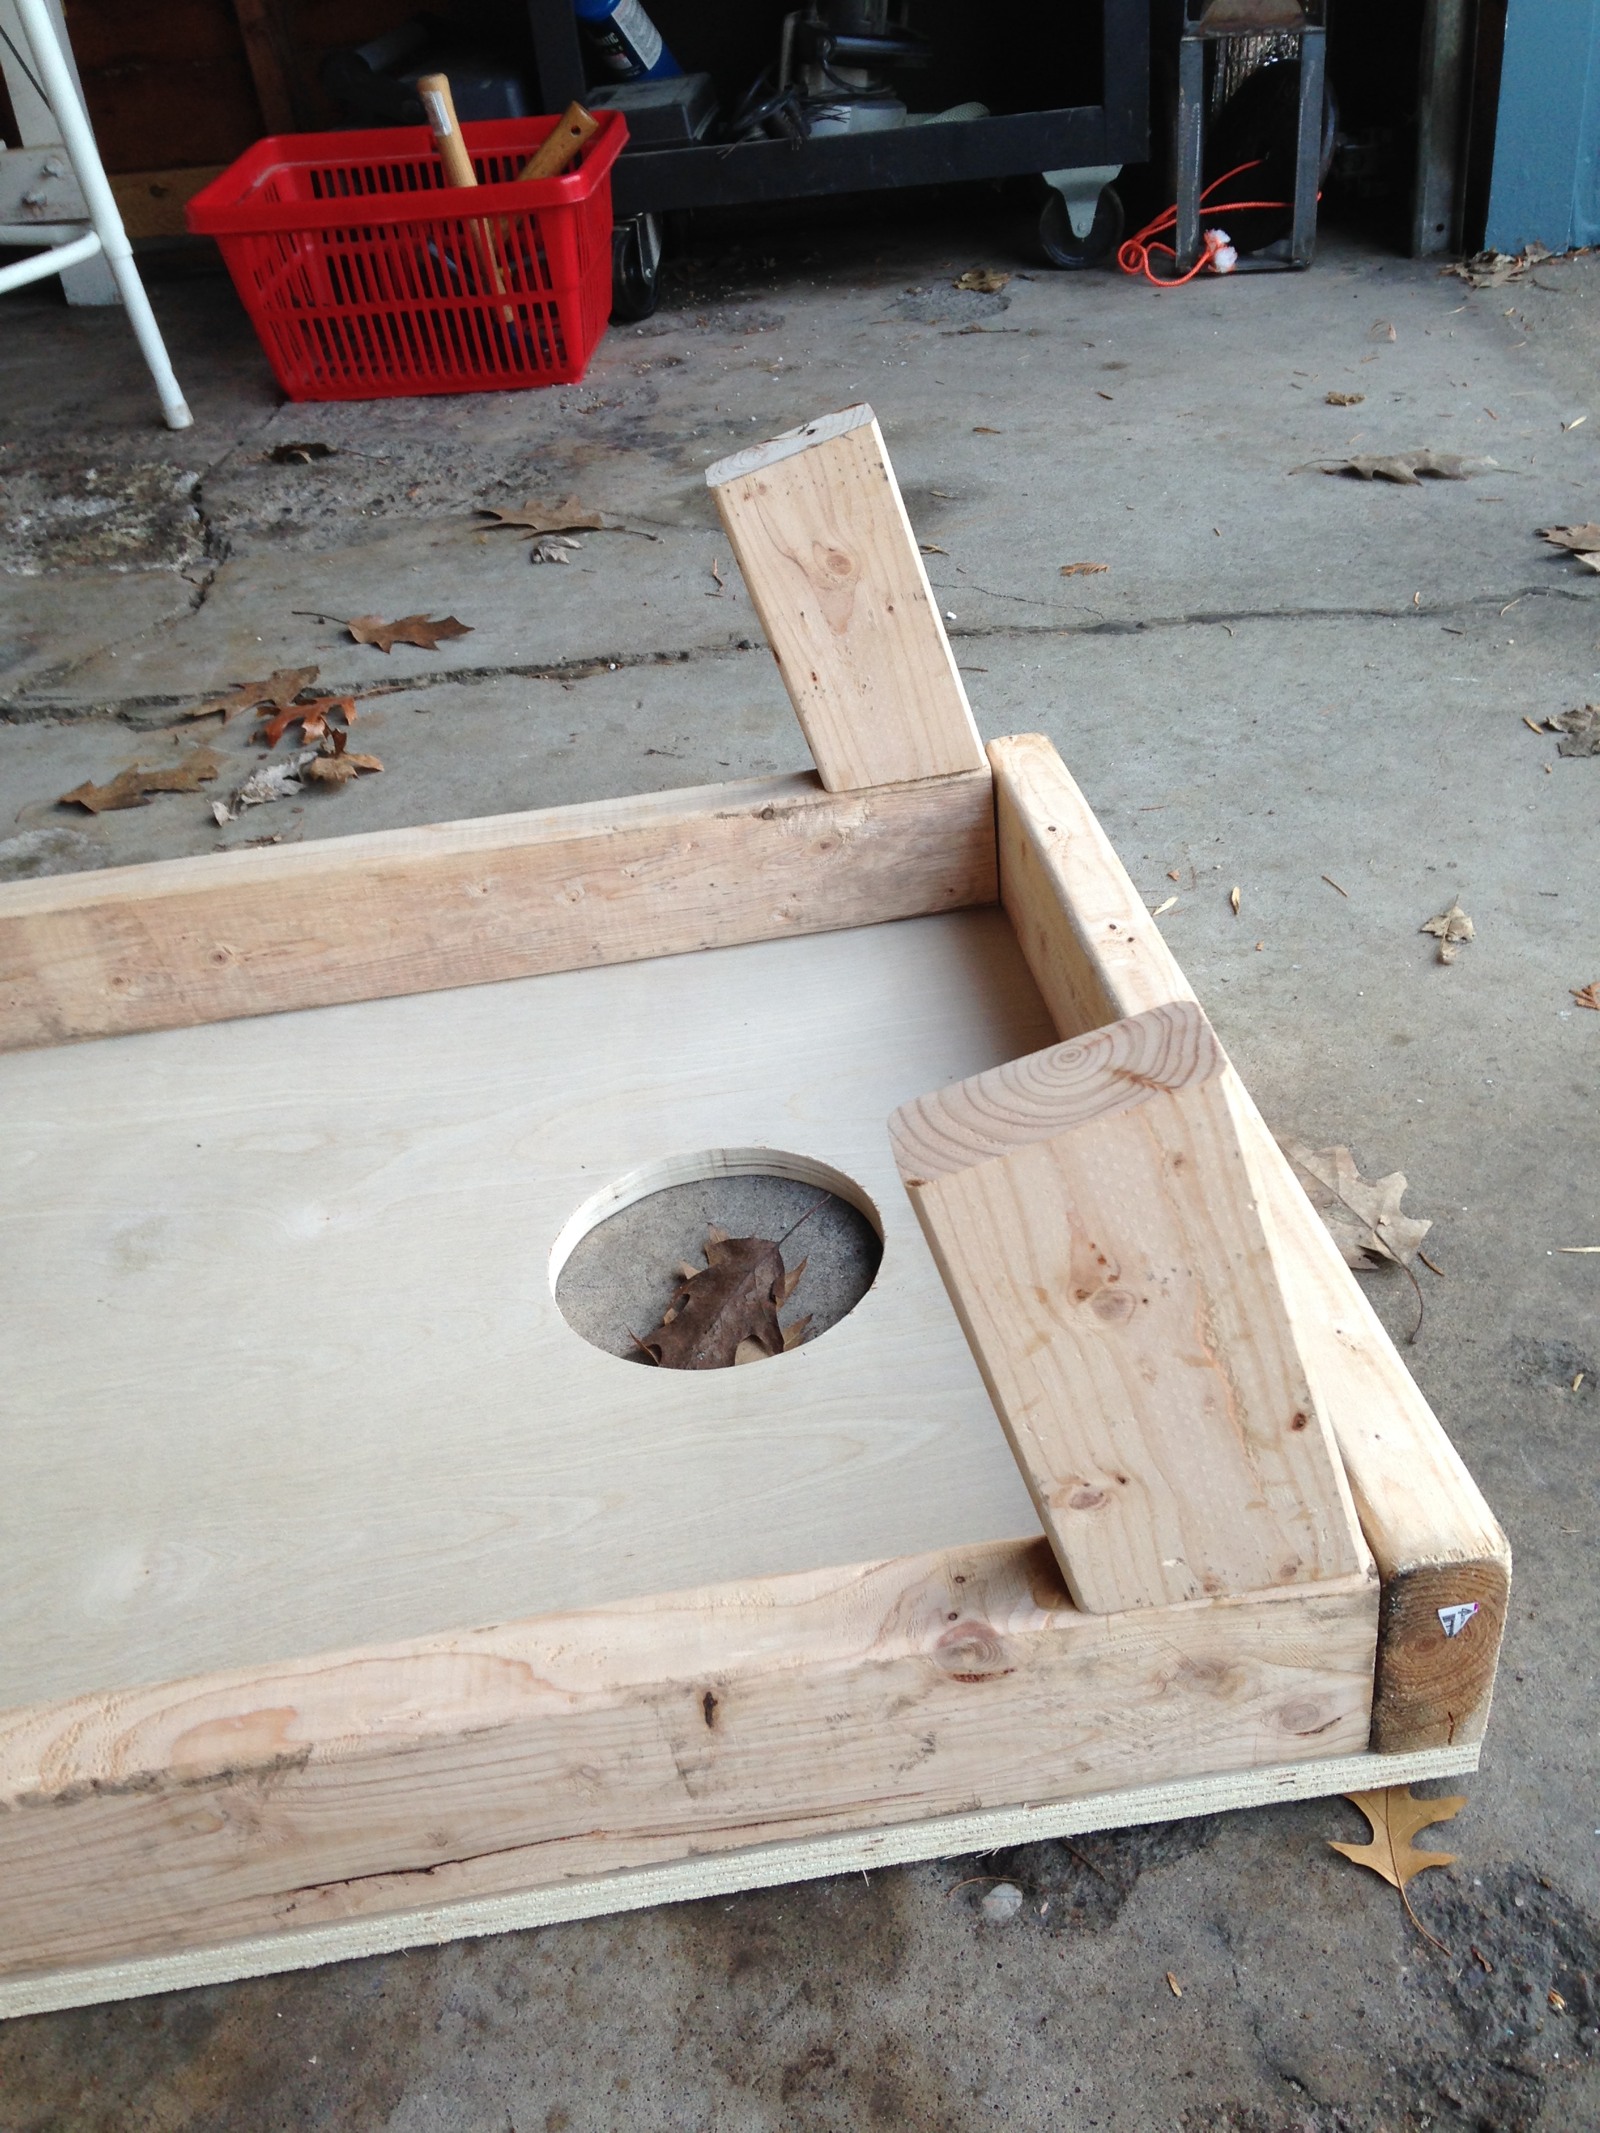 3. Cut the legs from a 2X4. As shown in the diagram, one side of the leg will be angled. Attach the legs to the frame using nails and glue.
 4. Prime and paint the board.
 5. Now comes the technical part. Cut a 12 foot length of LED strip and a 25 inch length of LED strip from the roll. Strip a ¼-inch or so off the plastic sheathing on one end of each LED strip to expose the electrical contacts. Insert the exposed contacts into the LED PCB to wire adapter connectors. (Alternatively, you could simply solder hookup wire to the exposed LED strip contacts and then wrap with electrical tape.)
6. Beginning on the back of the frame, opposite the corn hole, attach the 12 foot long LED light strip to the sides of the Corn-Hole platform frame. Use the adhesive on the strip's back and augment with glue if needed.
76. Bend the plastic hose into a 8-inch diameter circle and nail the circled hose to the underside of the Corn-Hole board, with the 1½-inch nails.
 8. Repeat step 4 to attach the adapter to the LED strip. Then attach the 25 inch length of LED strip to the interior of the ring formed by plastic hose. Make sure that the light will shine out of the Corn-Hole.
 9. Use hookup wire, a spade connector, and wirenuts to connect the positive leads from each LED strip adapter to the positive terminal of the battery.
10. Use hookup wire, a spade connector, and wirenuts to connect the negative leads from each LED strip to the negative terminal of the battery. The LEDs should light up.
11. Squirt some glow-in-the dark fabric paint on your beanbags let it dry, and you're ready to play! Here are the game rules.


